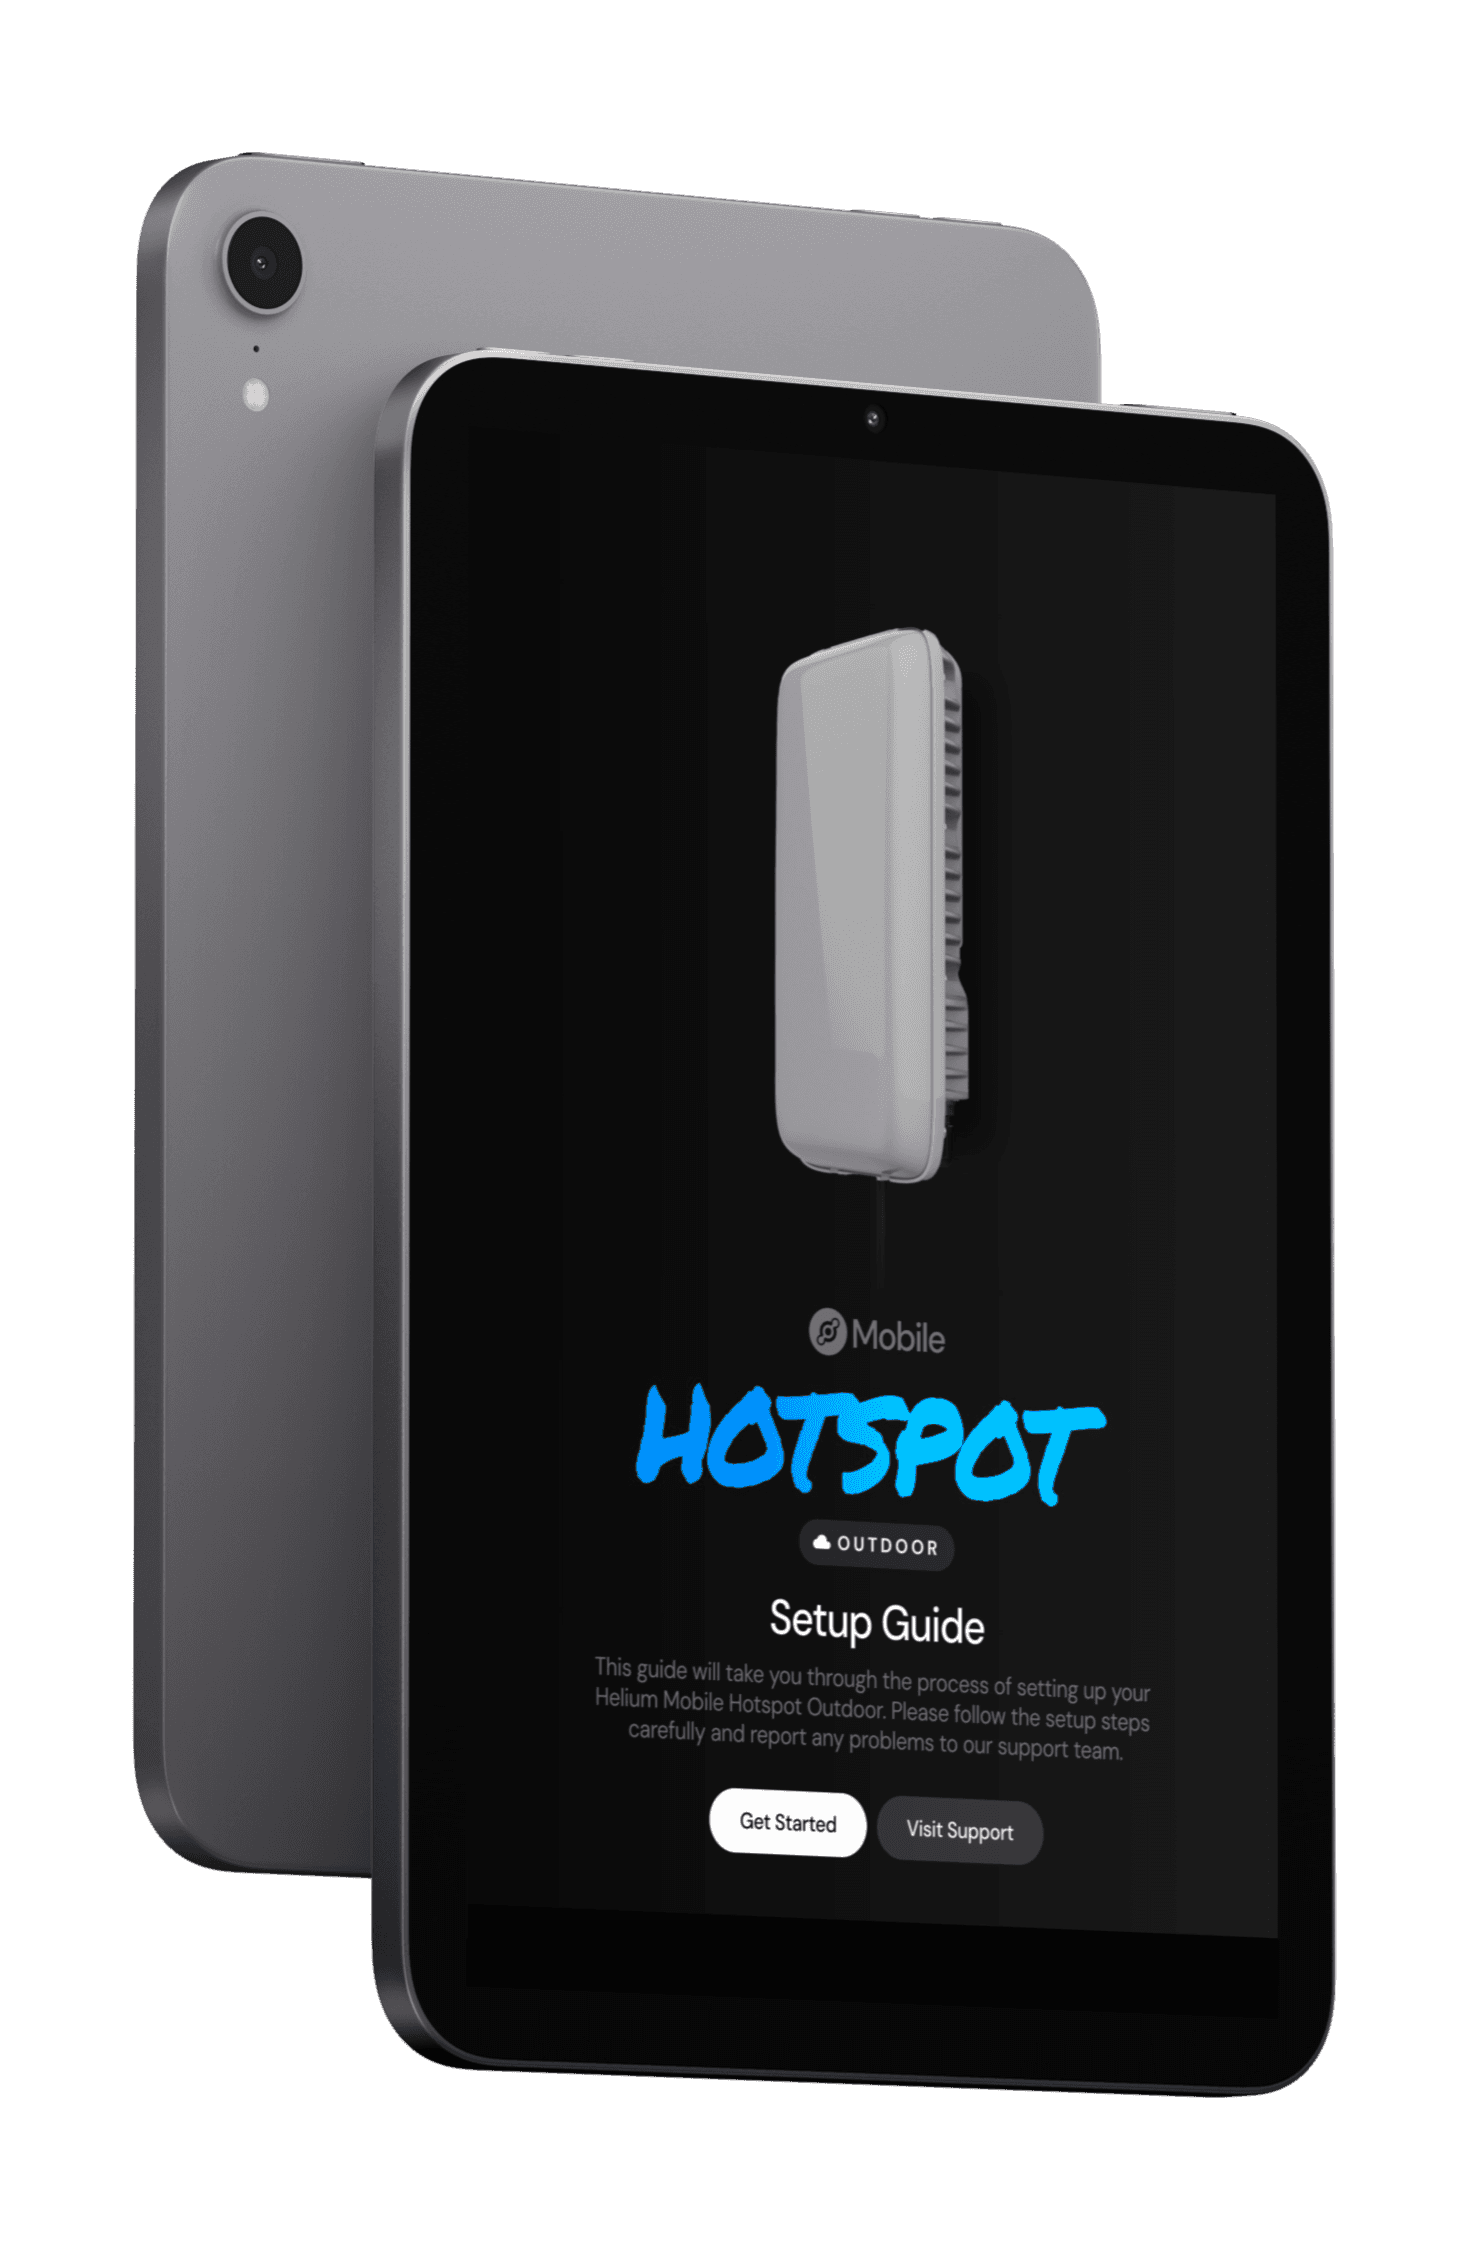

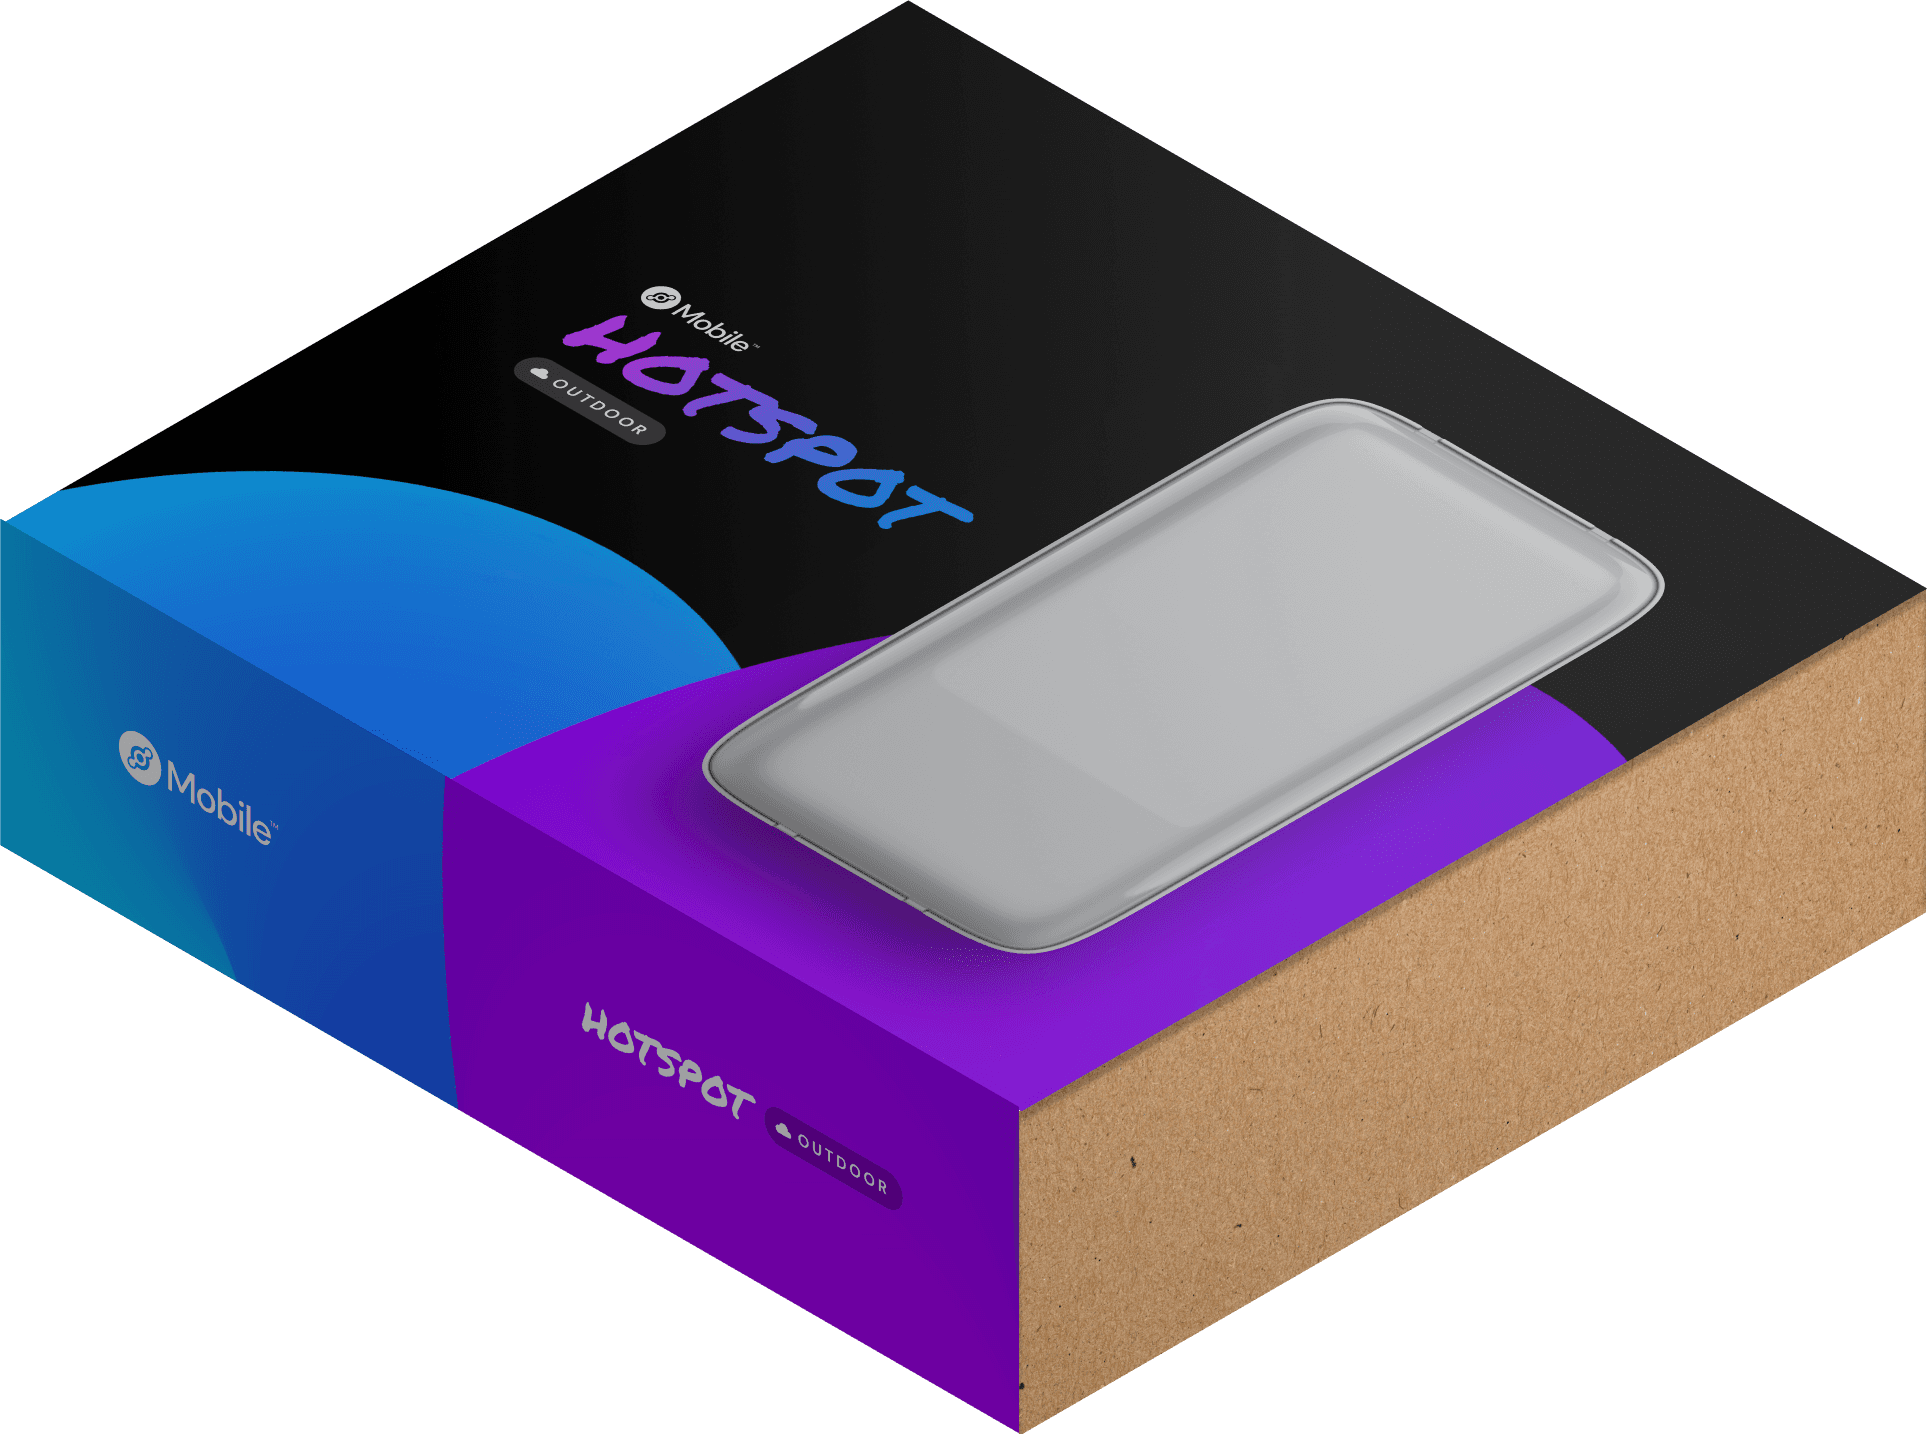
What’s in the Box?
Outdoor Helium Mobile Hotspot
Mounting brakets and screws
Step 1
Hotspot’s box has a QR code and network credential necessary to connect to the Hotspot during later setup steps.
We recommend that you save the box or take a picture of the QR code. The QR code is also available on the back of the Hotspot, however, it might be hard to access it after the Hotspot is installed at its final location.


Step 3
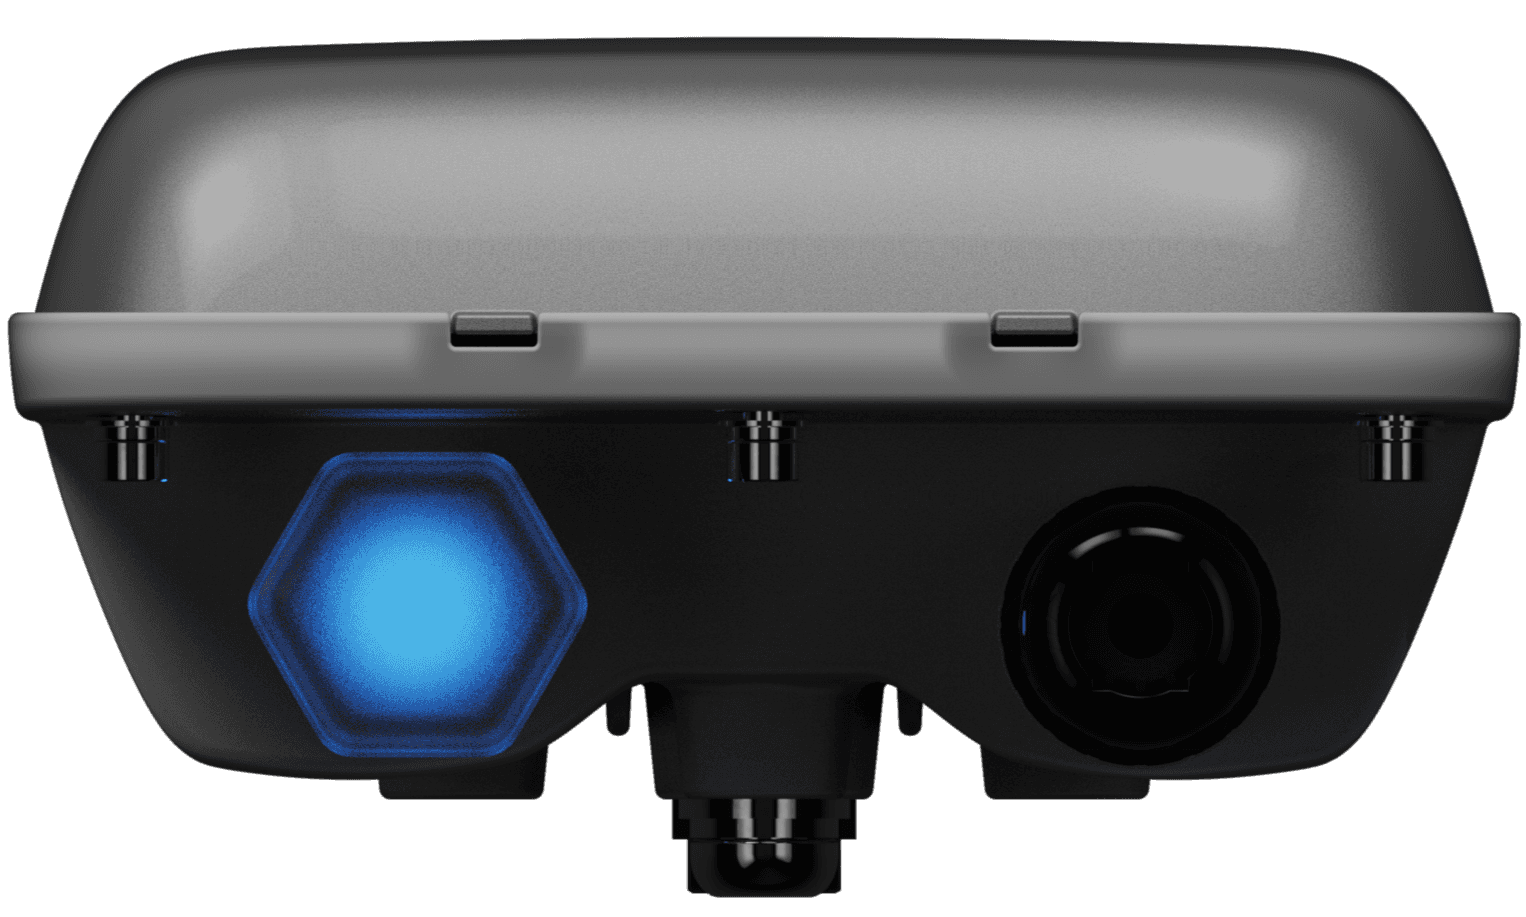
The Helium Mobile Hotspot may need to be updated to the latest firmware.
This process is automatic and will take a few minutes. During upgrade, the LED light will turn from solid blue to blinking blue.
After the update is complete, the LED light will turn off, indicating an automatic reboot of the Hotspot. Once the reboot is complete, the LED light will turn blinking blue followed by a solid blue which indicates that the Hotspot is ready to operate.
Please ensure that the LED light is solid blue before moving to the next step.
Step 4
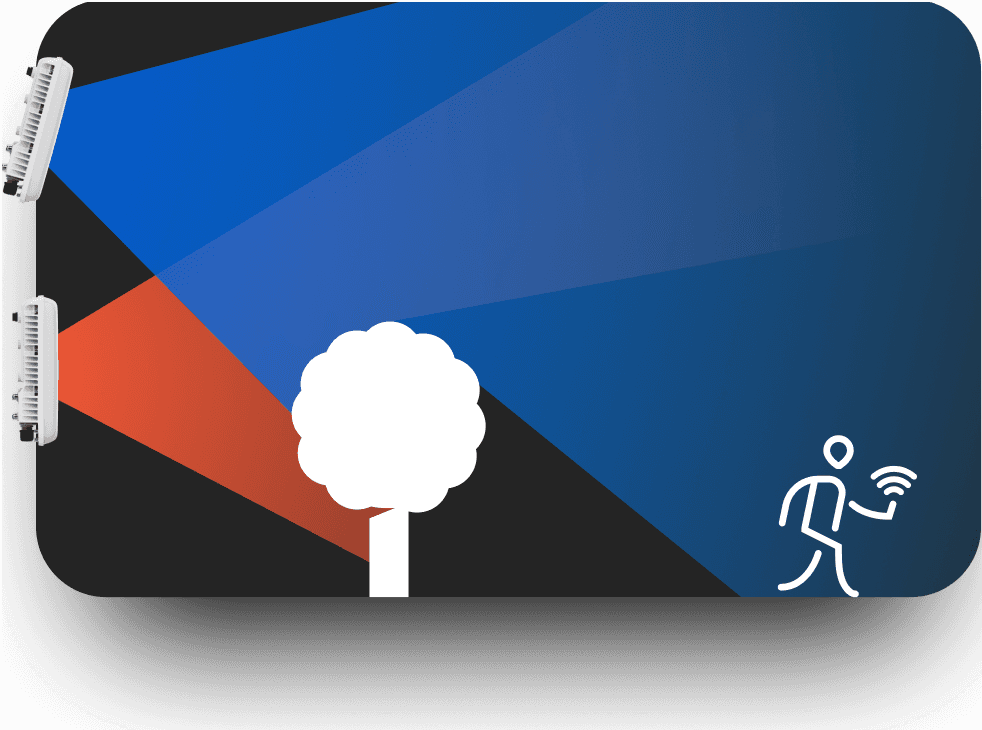
Mounting the Hotspot
Follow the mounting tips to install your Hotspot.


Step 6
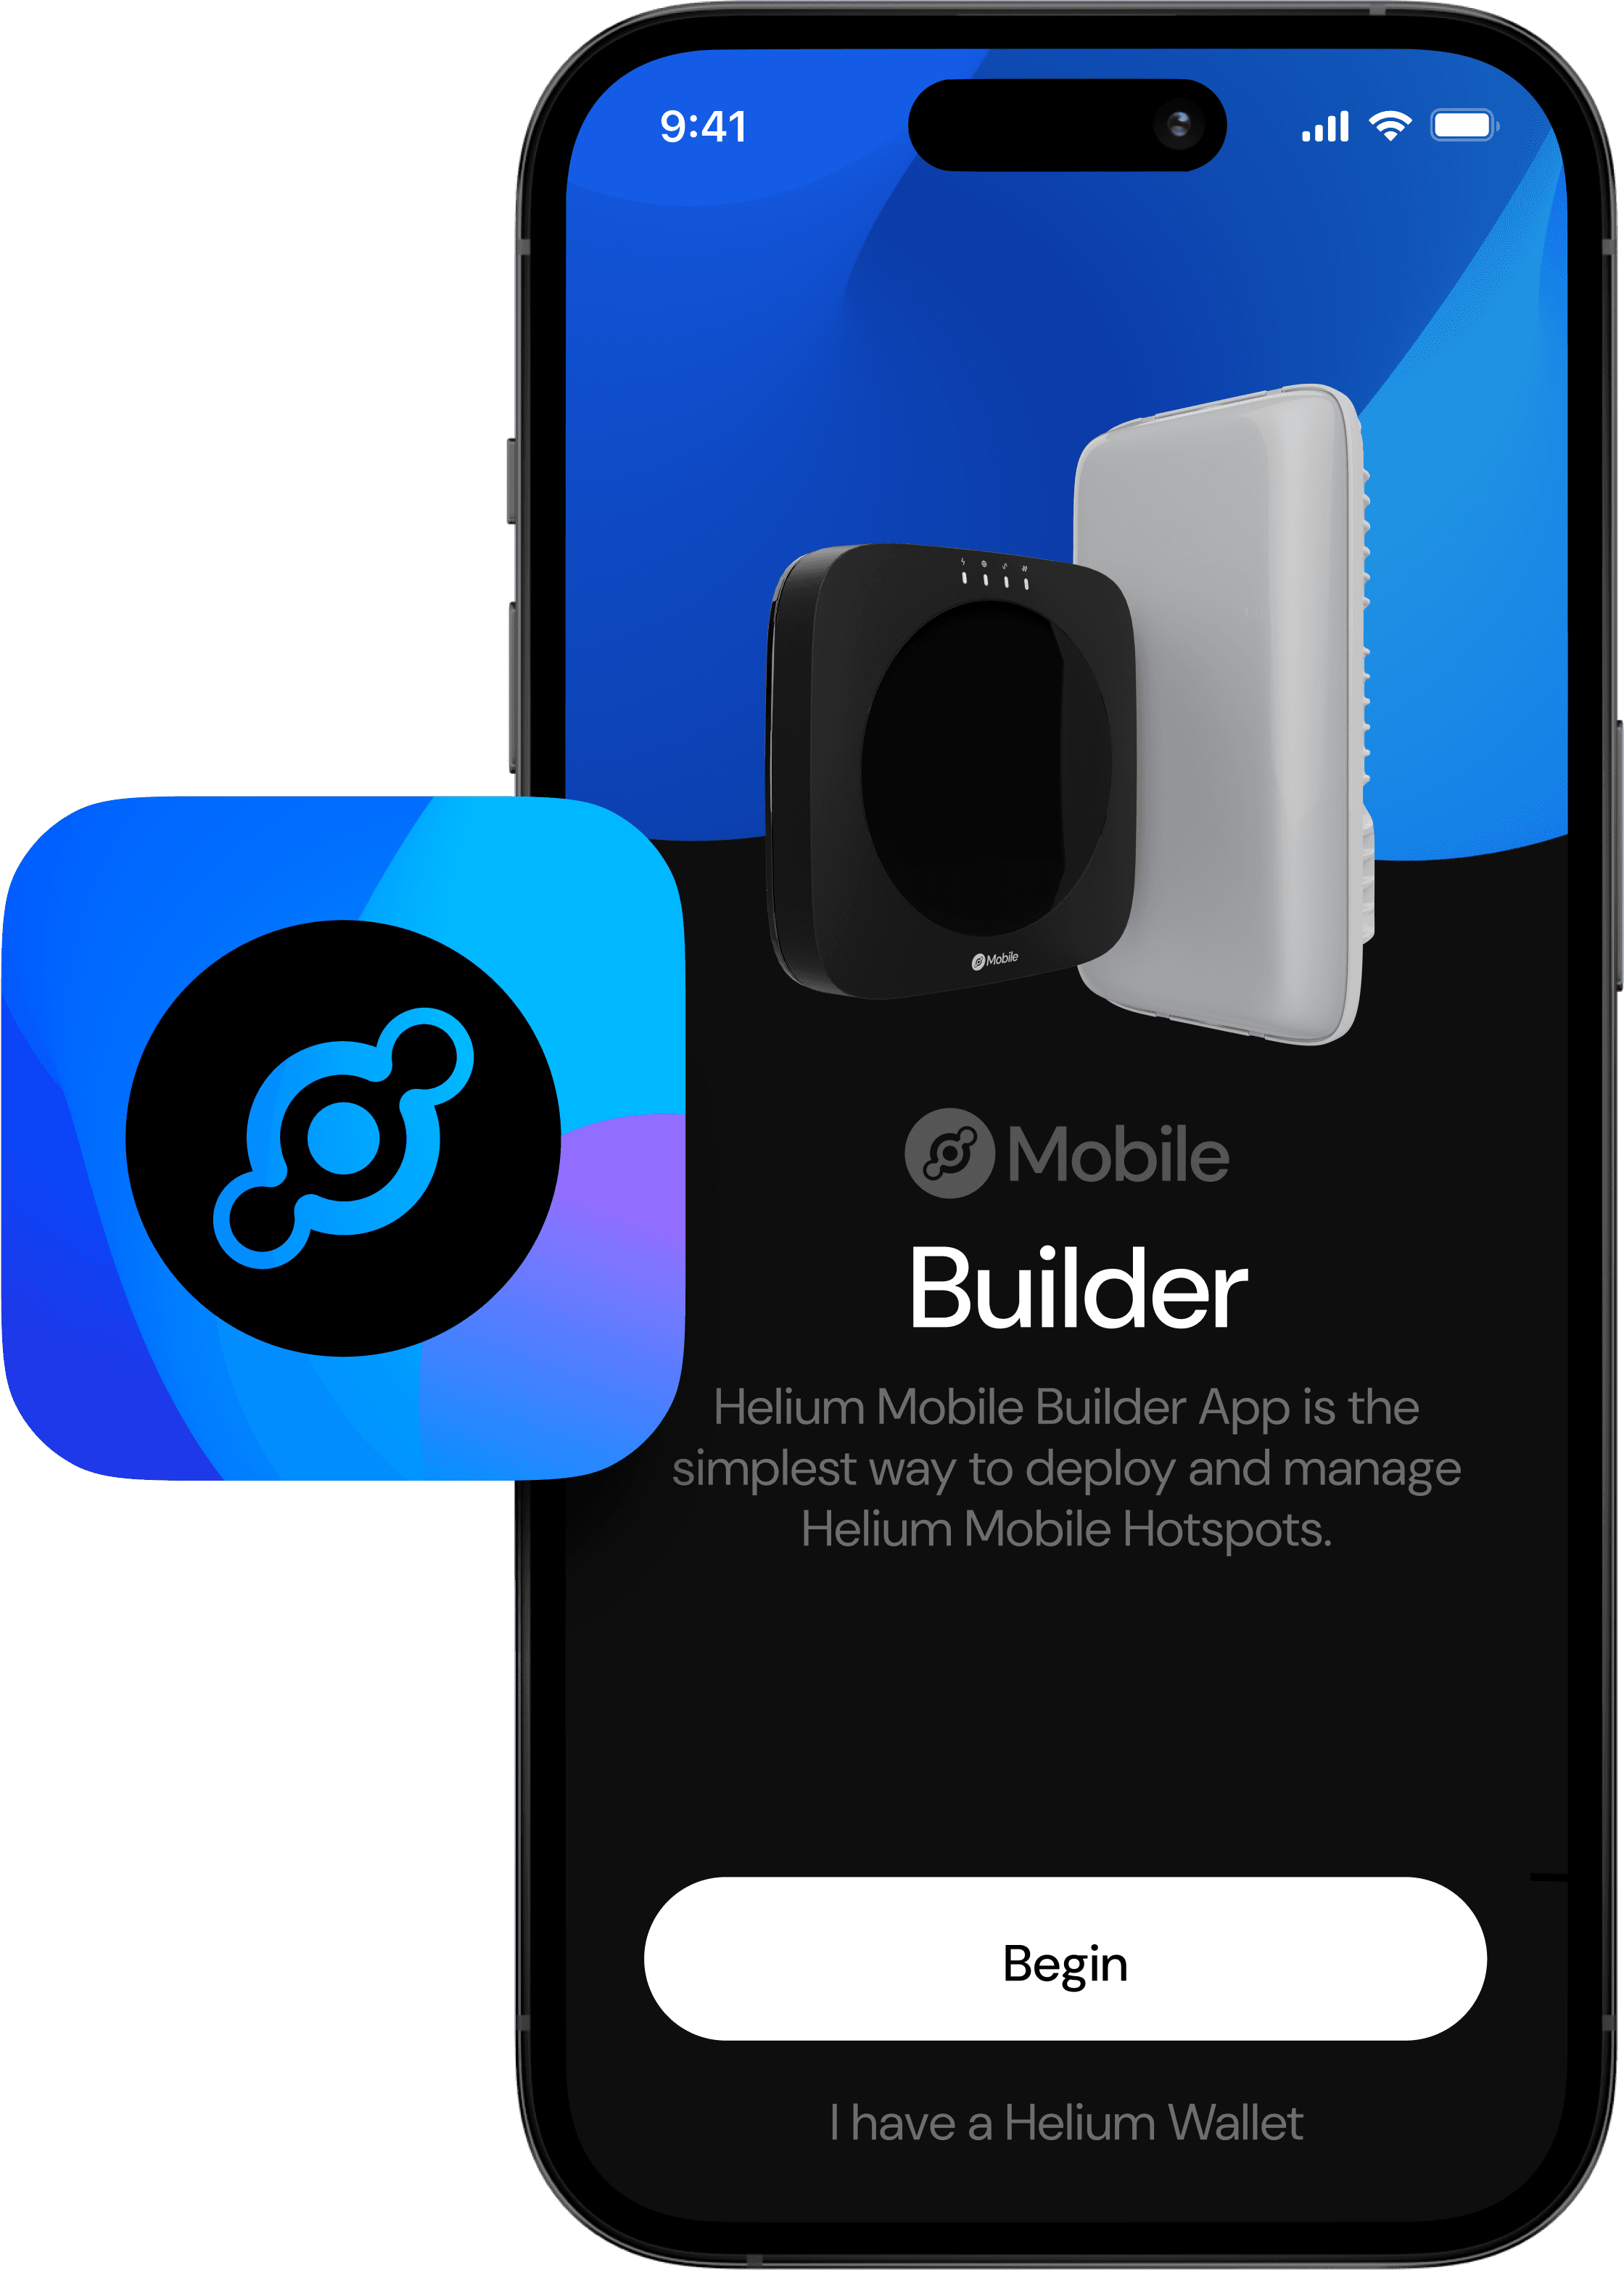
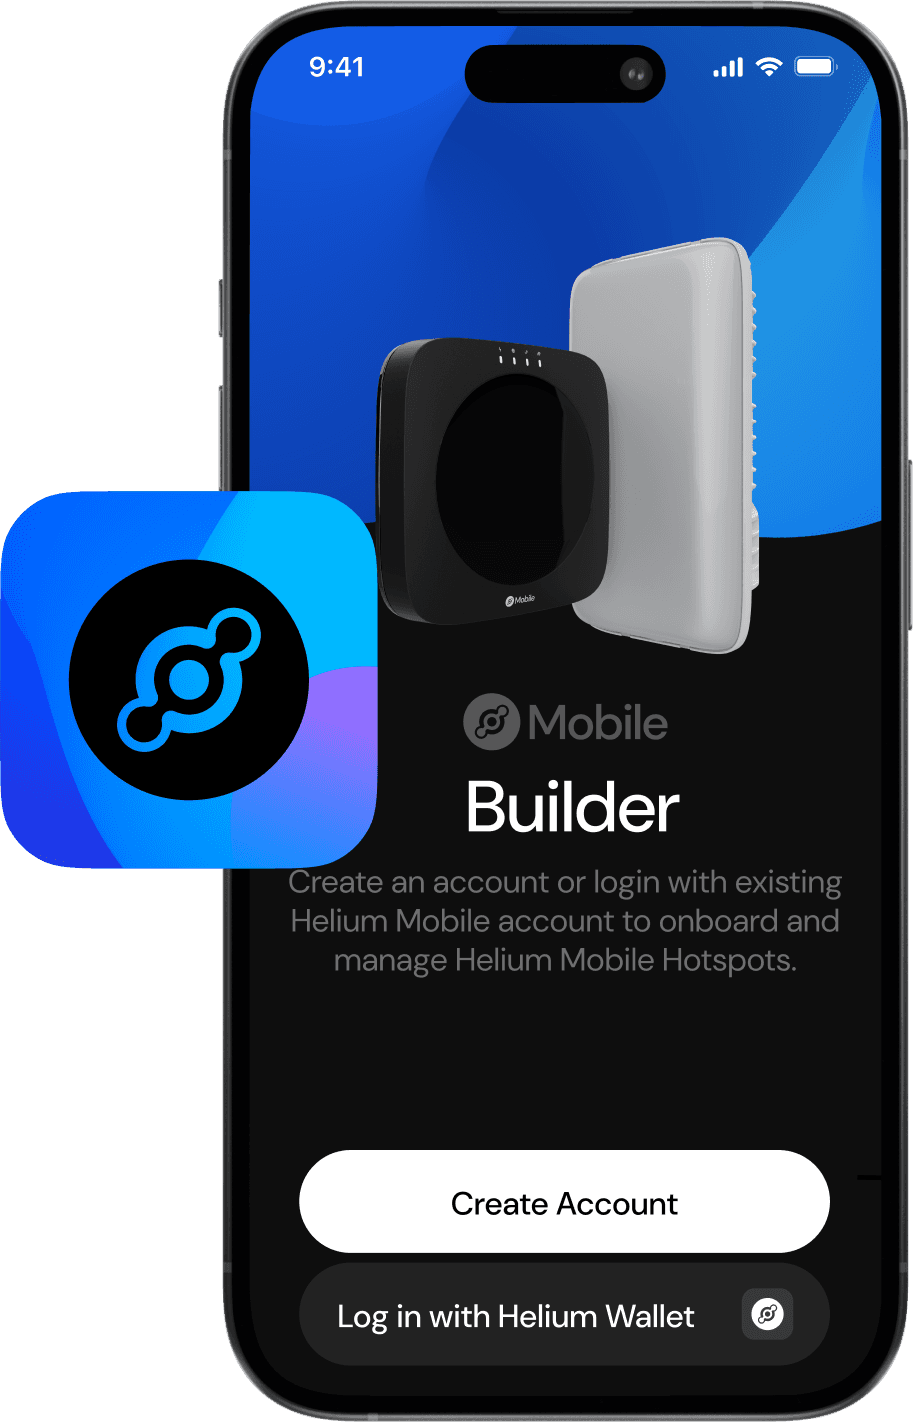
Click Begin to log in or sign up for Helium Mobile account.
If you are a subscriber to the Helium Mobile cellular service, you already have Helium Mobile account and can use it to sign in to the Builder app.
If you’re new to Helium Mobile ecosystem, please create Helium Mobile account. In addition to Builder app, it provides seamless access to various builder tools like Helium Mobile Hotspots Dashboard and Helium Mobile Coverage Planner.
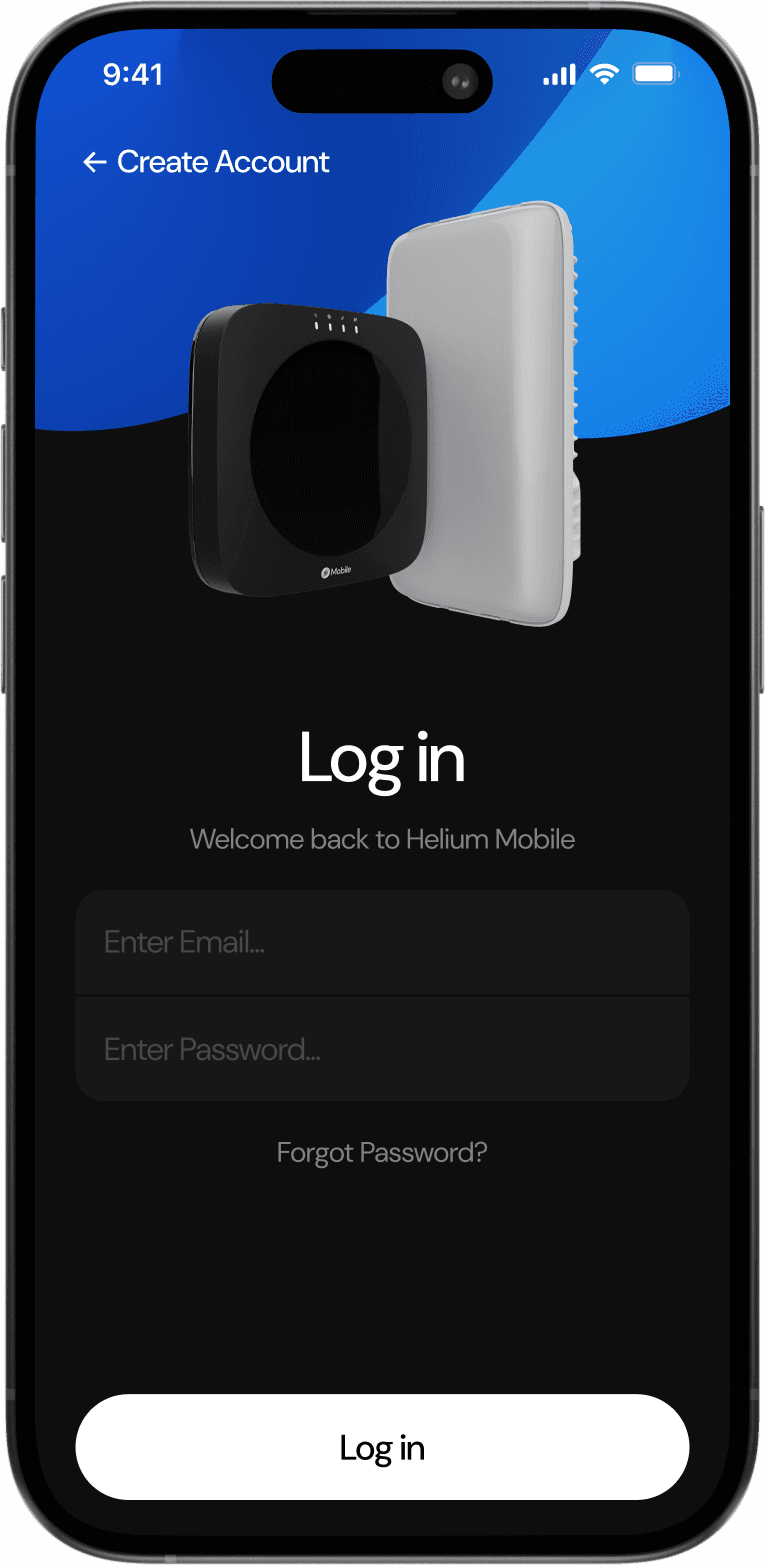
Alternatively, you can log in with Helium Wallet. This option is more suitable for advanced users, and we generally recommend using Helium Mobile account instead.
Please make sure you have Wi-Fi enabled on your phone before proceeding with this step.
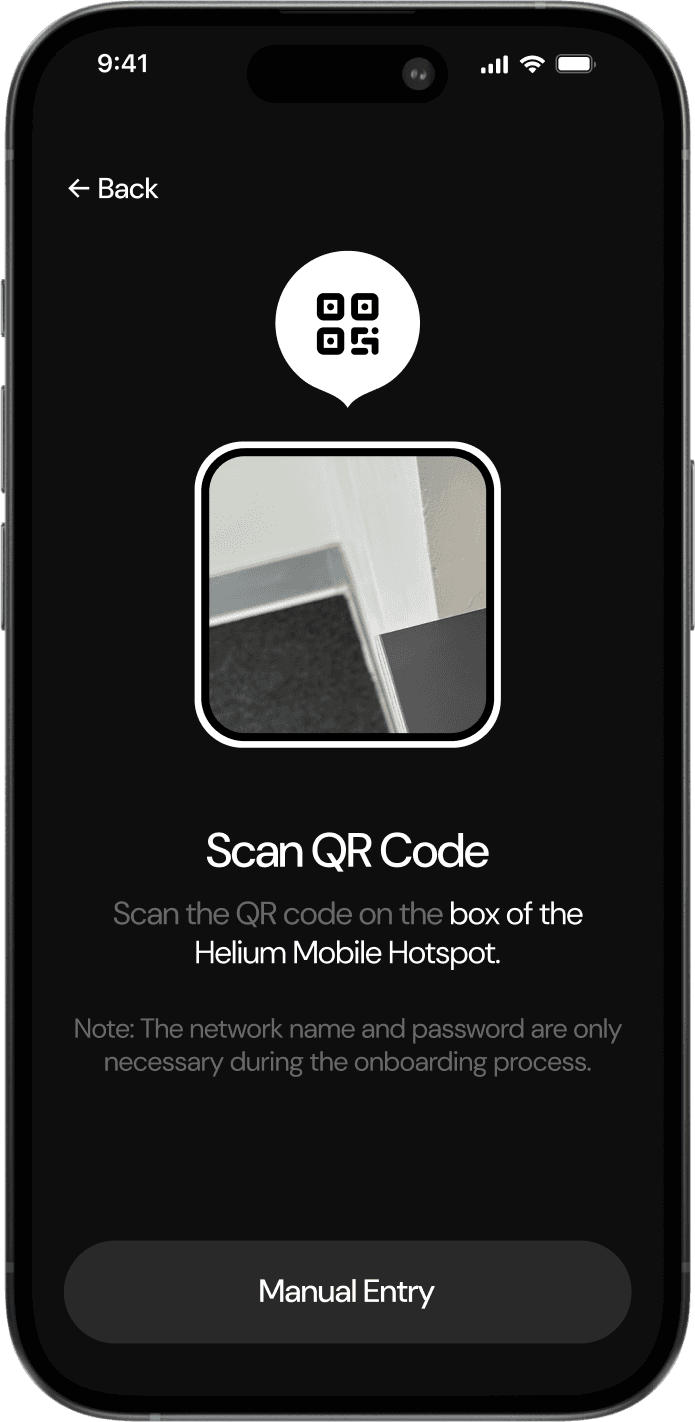
When prompted, allow the Helium Mobile Builder App to use the camera and scan the QR code on the box or back of the Hotspot.
Alternatively, you can enter the Hotspot’s network credential manually, located on the QR code sticker. The network name and password are only necessary during the onboarding process.
If you are unable to connect to the Hotspot’s network, please make sure your phone is in the direct line of sight of the Hotspot.
Step 8
Once you’ve connected to the Hotspot’s network, the app will show the screen “Acquiring the GPS”.
This step might take up to 20 minutes. If it’s taking longer, please make sure that the Hotspot is installed in a location where it has an unobstructed view of the sky.

Step 9
Once the GPS lock is acquired successfully, you will be able to see the location of your Hotspot on the next screen.
Make sure the data is accurate and retry if needed.

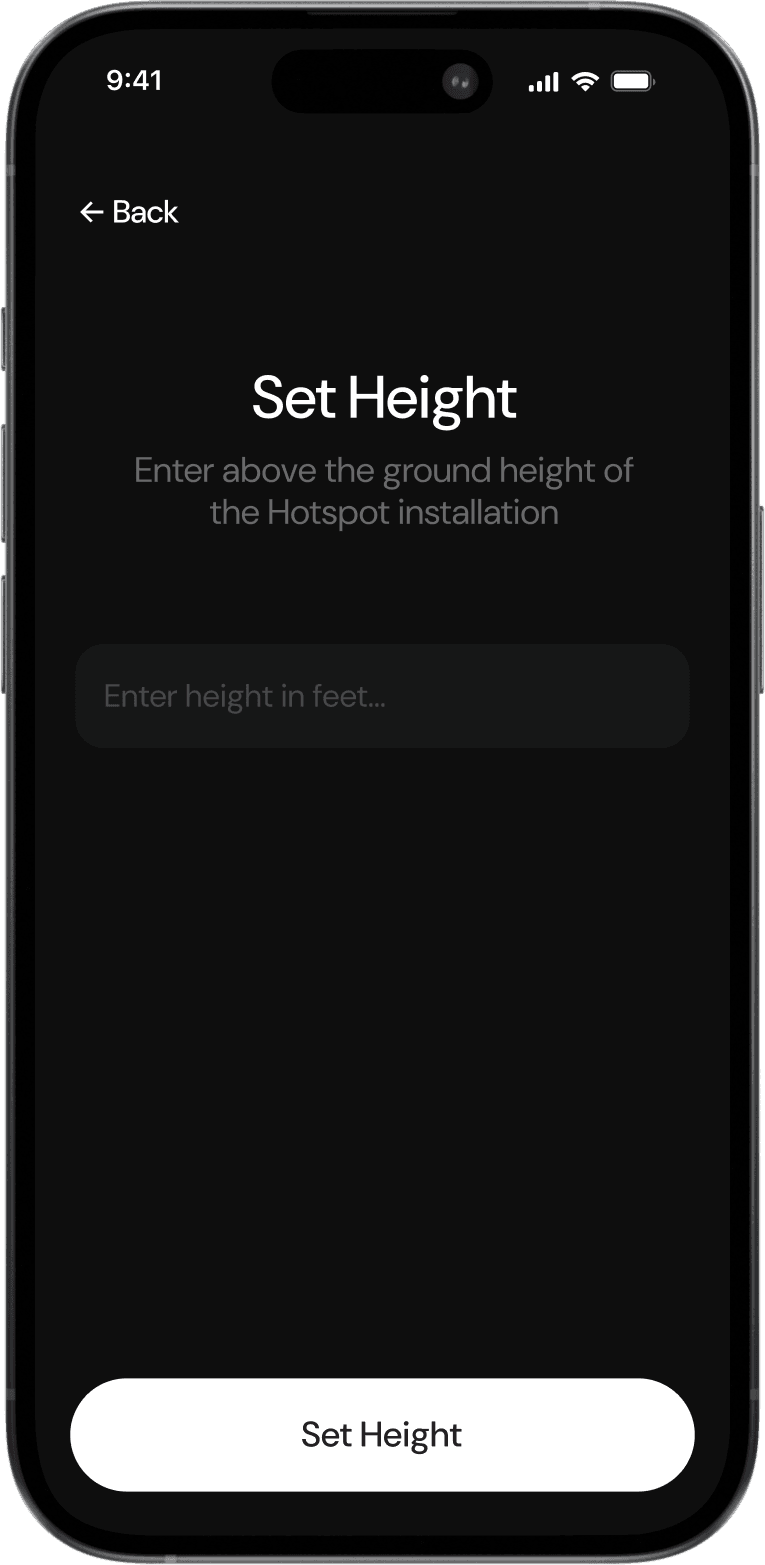
Step 10
Measure above the ground height of your installation.
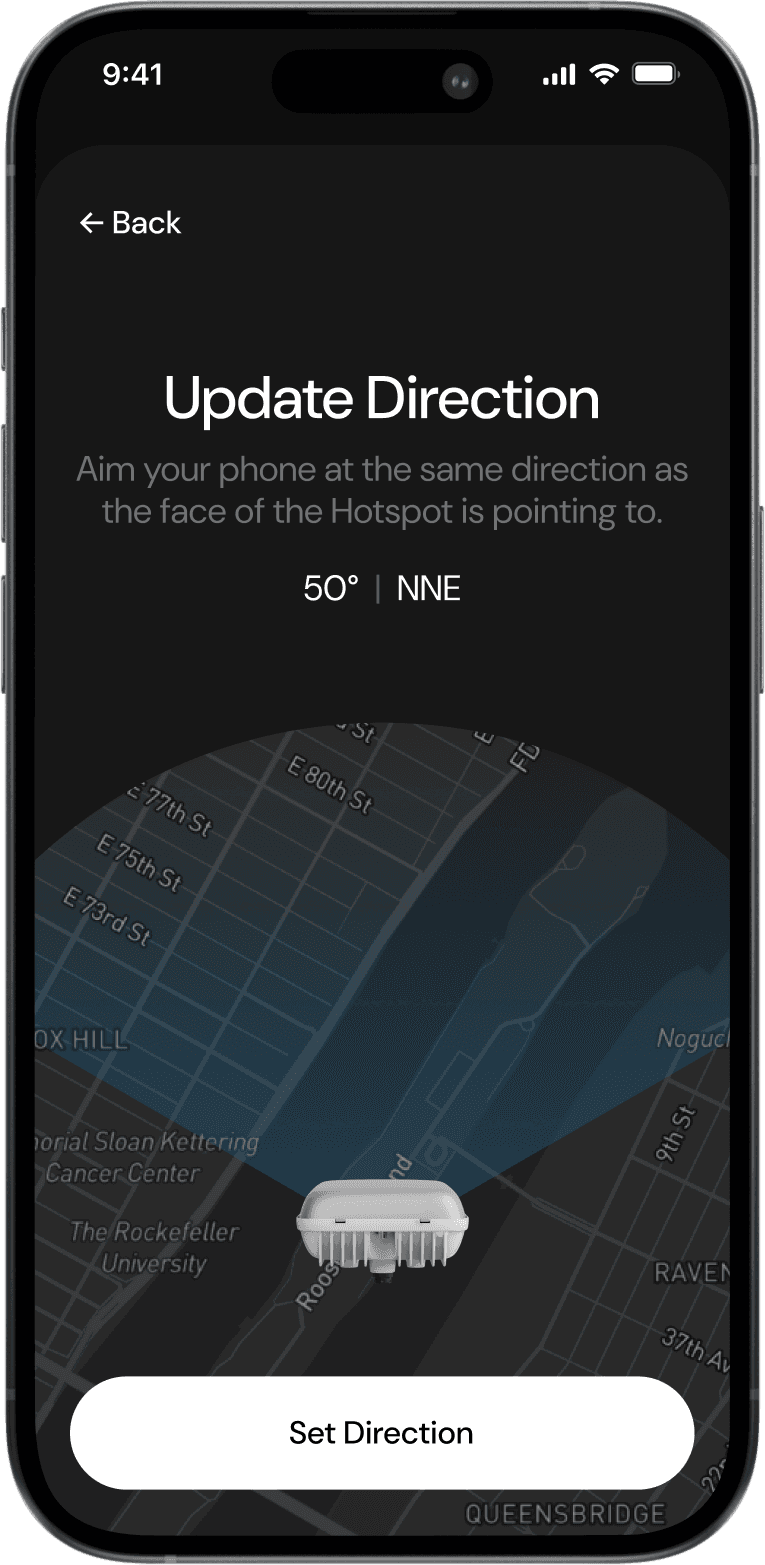
Step 11
Hotspots provide coverage from their front face.
When measuring directionality, aim your phone in the same direction as the front of your Hotspot is pointing to.
Step 12
Verify that information about your Hotspot is correct before proceeding to the final registration step.
Registration process can take up to 10 minutes.

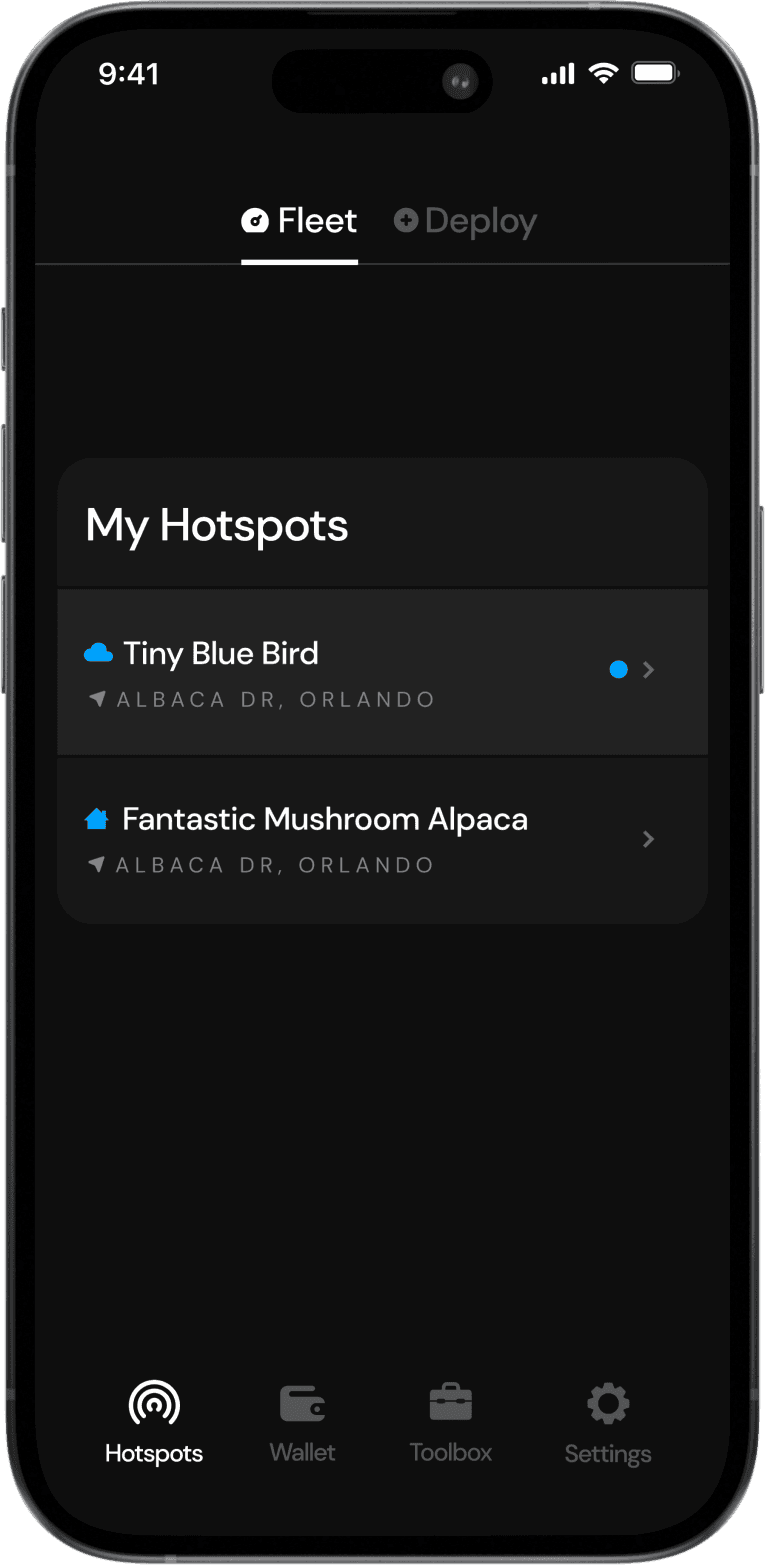
Step 13
The 'Fleet' Tab displays your Hotspots. Your newly deployed Hotspot should be indicated with a blue dot.
It might take up to 10 minuted for the Hotspot to appear in the list.
Additionally, it might take up to 48 hours for the Hotspot to start earning MOBILE rewards and appear on the Helium Mobile Coverage Planner.
Step 14
Helium Mobile cellular service subscribers with Dynamic Coverage Enhanced activated on their devices can connect to the Helium Mobile Hotspot when in range.
Please allow at least three to ten minutes after successful Hotspot registration for the device to be ready to start broadcasting the “Helium Mobile” Wi-Fi network.
Disconnect and disable auto join to any Wi-Fi network in the same area.
Do not use password provided on the box or back of the Hotspot to connect to Helium Mobile network. It should be used only during the Hotspot onboarding.
Your phone should automatically join the Helium Mobile network. If this doesn’t happen automatically, please reinstall Helium Mobile app.